Exercise 5 - Using a connector to send an email
Goal
The goal of this exercise is to demonstrate an interaction between Bonita and an external system with the use of a connector. In this exercise, we will notify the leave request initiator about his request status with an email connector.
⚠ Depending on your network configuration, your firewall or the security settings of your email server you may not be able to send an email from Bonita.
In order to get rid of those technical constraints, we will use a program that simulates an email server (FakeSMTP).
Instructions overview
Obtain and start the FakeSMTP server.
Duplicate the process diagram from the previous exercise to create a 3.1.0 version.
Add an email connector on the Notify request approved and Notify request rejected service tasks. They will send an email to the requestor with the request validation status.
A script must be defined to retrieve the requestor's email in the connector.
Step by step instructions
-
FakeSMTP setup:
- Download FakeSMTP from this link: http://nilhcem.github.com/FakeSMTP/downloads/fakeSMTP-latest.zip
- Unzip the file
fakeSMTP-latest.zip - Run FakeSMTP by either double-clicking on the JAR file or running this shell command:
java -jar fakeSMTP-2.0.jar - Once the user interface is displayed, set the listening port to 2525 and click on the Start server button
-
Duplicate the process diagram from the previous exercise to create a 3.1.0 version
-
Test the email connector to obtain the right SMTP configuration:
- Navigate to the Development / Connectors / Test connector... top menu
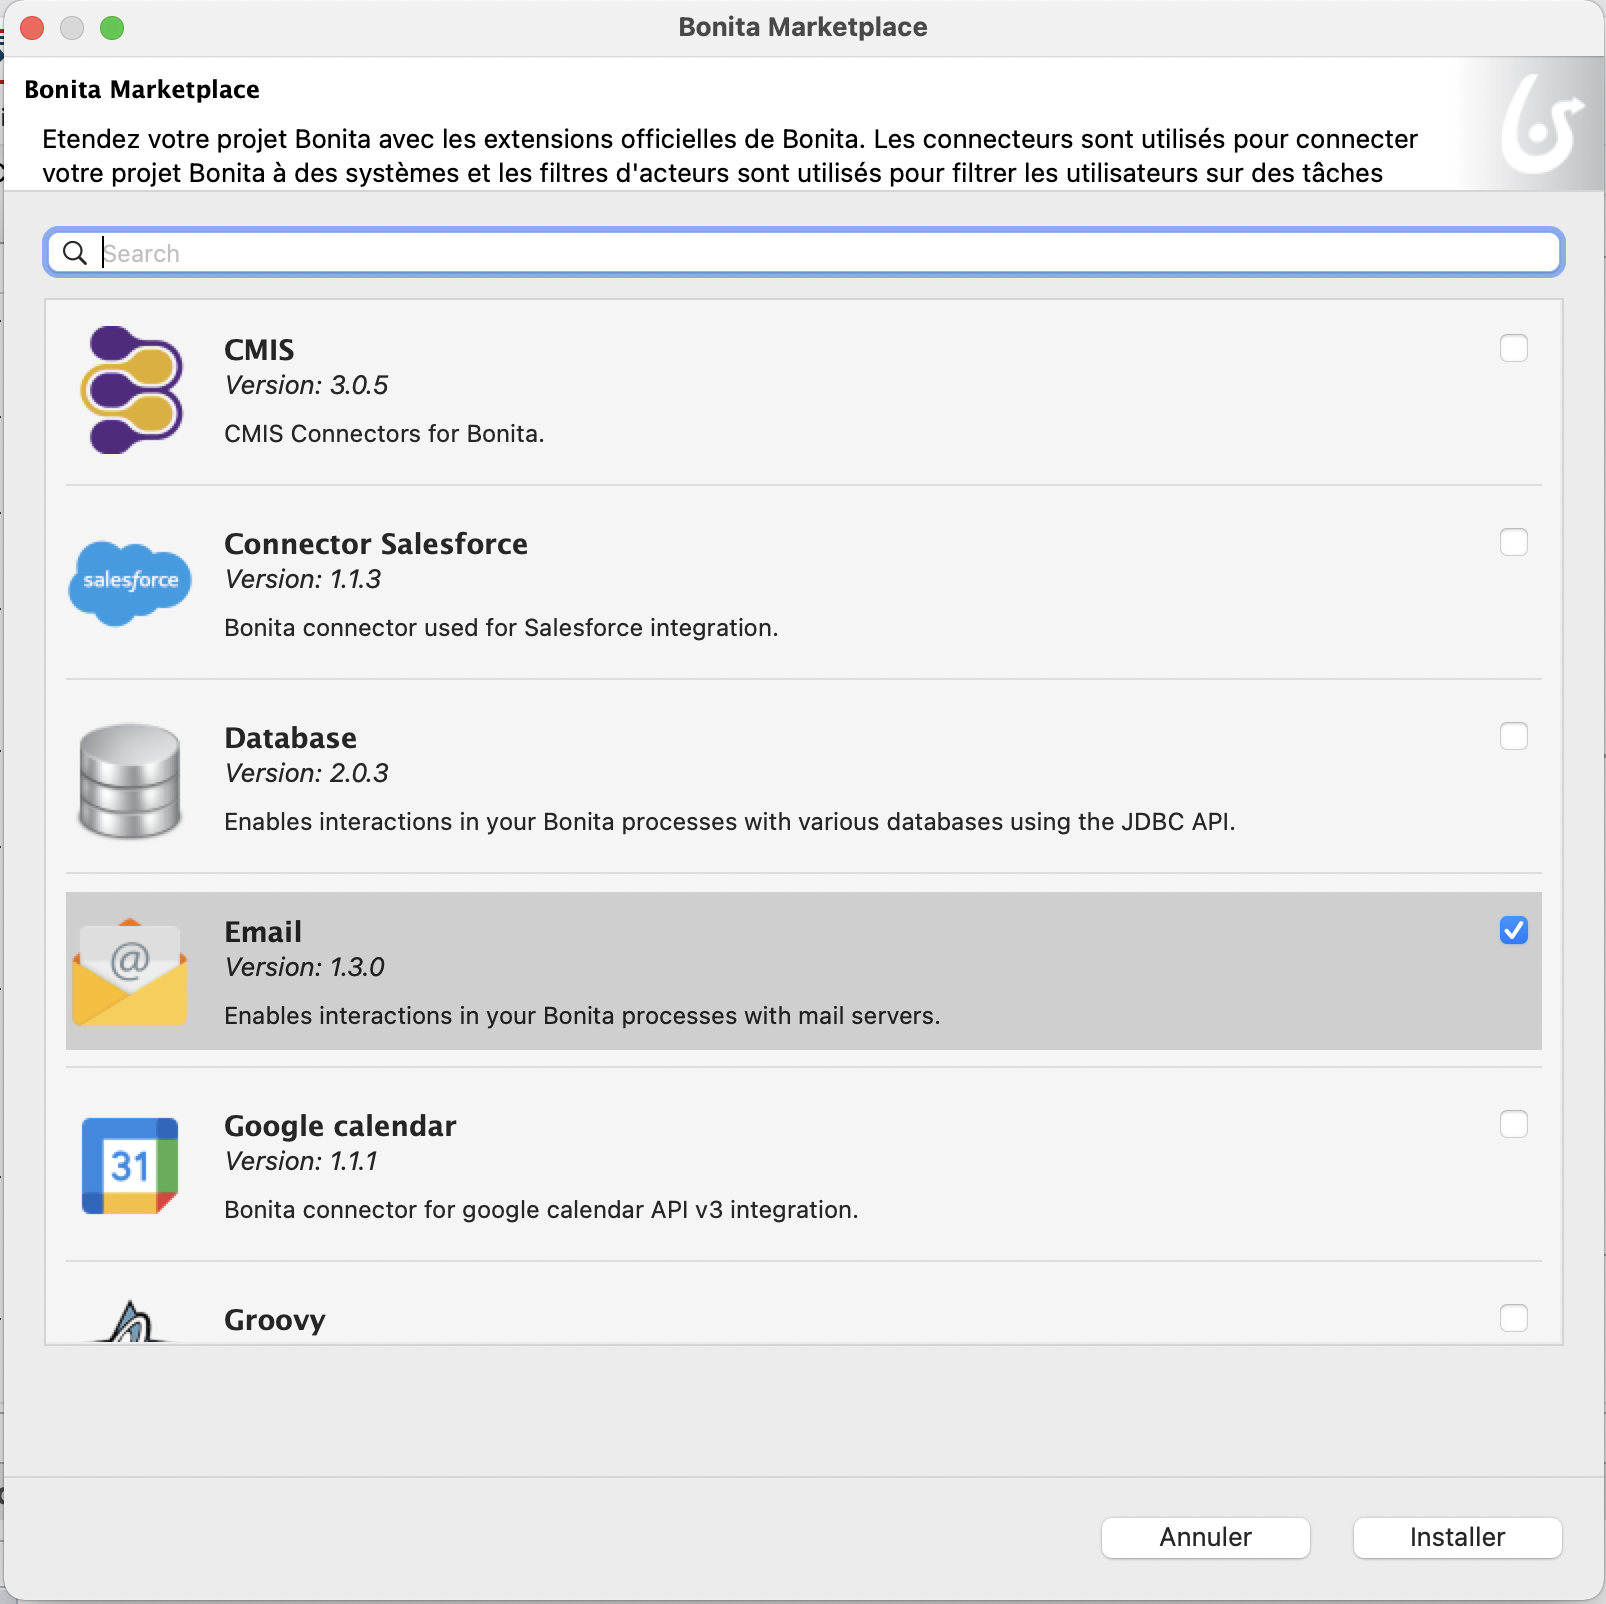
- Select the Email (SMTP) connector by using either the text filter or the Messaging category
- Click on Next
- Set these connection parameters (username and password remain empty):
Property Value SMTP host localhost SMTP port 2525 (the port number specified in FakeSMTP) SSL (in the Security section) unchecked - Click on Next
- Enter some email addresses (not necessarily existing addresses) in the From and To fields
- Click on Next
- Enter Bonita test as the subject
- Click on the Test button
- Confirm the test without checking any dependency
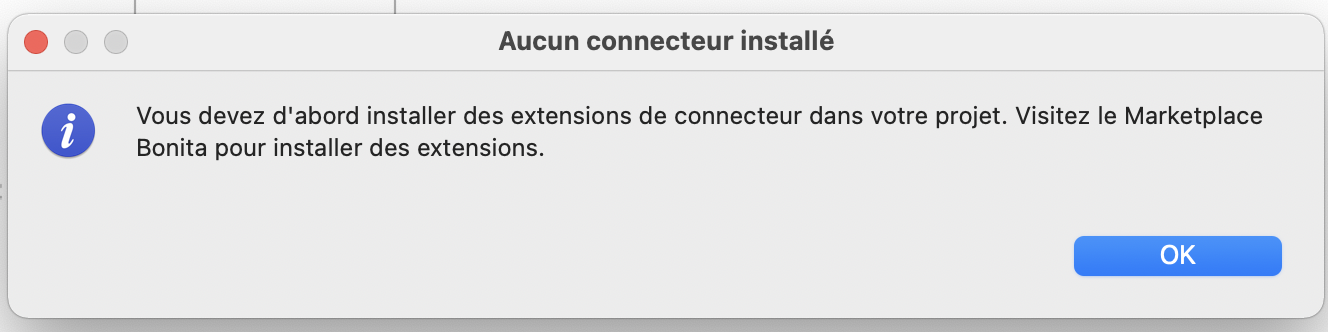
- At this stage, you should get a message similar to this one (click on the OK button):
- Make sure that the email is received by FakeSMTP as shown below:

- Once the configuration is valid, click on
- Name the configuration emailConfig and save it
- Close the connector test interface
-
Add an email connector on the Notify request approved task:
- Select the task Notify request approved
- Navigate to the Execution / Connectors in tab
- Click on Add...
- Select the Email (SMTP) connector
- Click on Next
- Name it sendRequestApprovedEmail
- Click on Next
- Do not fill in the parameters
- Click on

- Select the emailConfig
- Move to the Email addressee configuration page
- Enter hr@acme.com in the From field
- Use the pencil icon to edit the expression of the To field
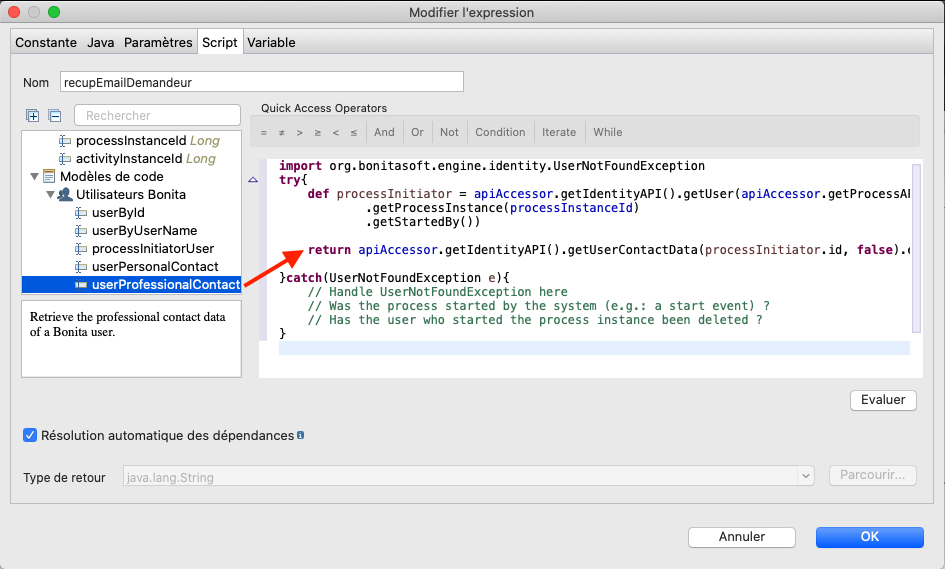
- Name the script getRequestorEmail
- In the script editor, select processInitiatorUser from the menu Code templates/Bonita Users.
- Drag and drop the template into the editor. A script template is automatically generated.

- To be able to return the email of the process initiator, drag and drop userProfessionalContact from the Code templates/Bonita Users menu between
.getStartedBy()and}catch(UserNotFoundException e){. - Replace userId with
processInitiator.id. - Add a "." and select email: string in the drop-down list
- We can replace
def proContactData =byreturn.
- Click on OK to close the script editor window
- Move to the next page
- Set Leave request approved as the subject
- Click on Finish
-
Add an email connector on the Notify request rejected task:
- Repeat the previous steps by naming the connector sendRequestRejectedEmail and setting Leave request rejected as the subject
Note: alternatively you can use the feature that let you create a copy of an already configured connector and add it to another task
-
Test the process:
- Execute the process twice to test the different paths and check that FakeSMTP receives the right emails